On this blog I will introduce and demonstrate how to use NodeMCU in Arduino IDE
What is NodeMCU or ESP8266 ?
The ESP8266 is a low-cost Wi-Fi chip with full TCP/IP stack and MCU (Micro Controller Unit) capability produced by Espressif Systems.
Whereas NodeMCU is an open source firmware and development kit that helps us to create IoT platform. It includes firmware which runs on the ESP8266 WiFi SoC from Espressif Systems and hardware which is based on the ESP-12 module. NodeMCU can be directly programmed using Arduino Software.
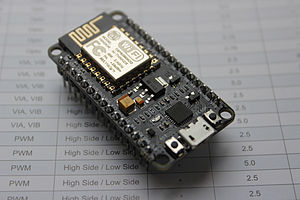
P.S: With NodeMCU in hand, you do not need to have Arduino Boards. You can simply program NodeMCU board using Arduino Software using USB cable. However, Small changes in Arduino Software needs to be done so that NodeMCU Module can be programmed using Arduino Software. NodeMCU is very cheap and can be bought in less than $5. Only. This is a very good solution for IoT application in a very cheap price. Buy it here NodeMCU WiFi Development Board.
This assumes you have the latest Arduino IDE.
1. Adding NodeMCU on board management.
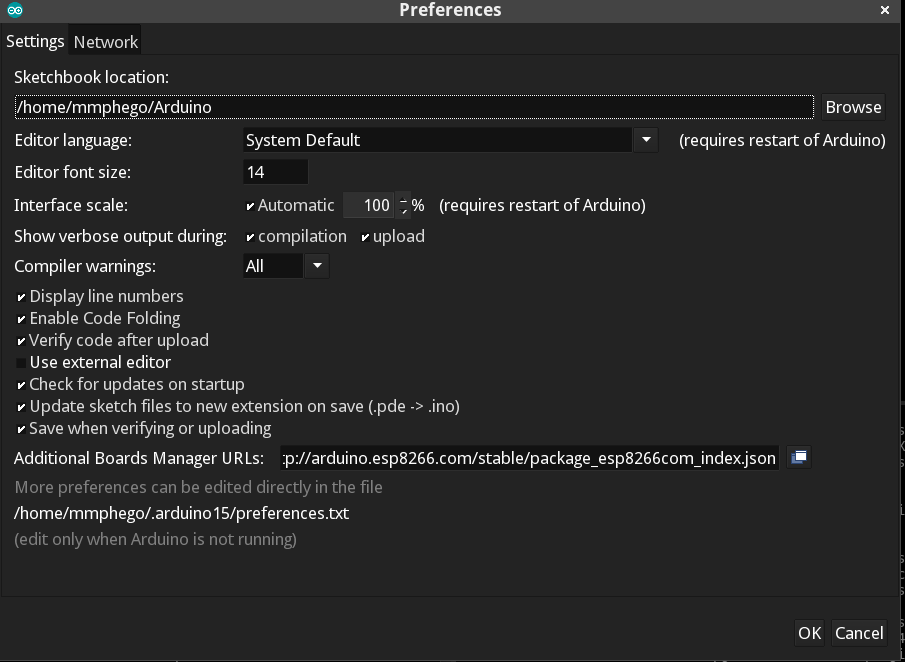
Open Arduino IDE, go to Files > Preferences
Copy URL below and paste it on Additional Boards Manager URLs as per image below.
http://arduino.esp8266.com/stable/package_esp8266com_index.json
More Info can be found on https://github.com/esp8266/Arduino
2. Installing NodeMCU board
This assumes you are connected to the Internet, else how did you even get to this blog post.
Goto Tools > Board > Boards Manager, This will download additional board information from the url you added in step 1.
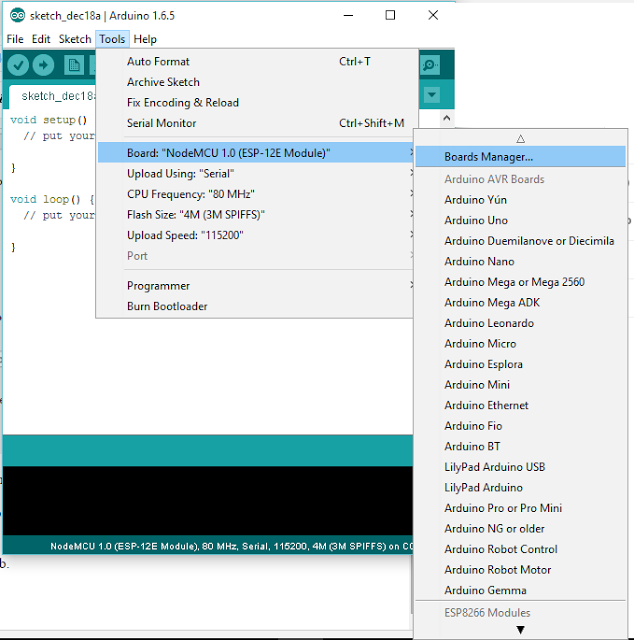
Navigate and select esp8266, and install.
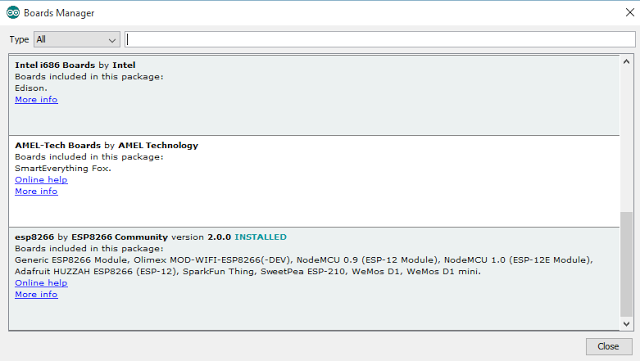
Close and re-open the Arduino IDE after installation is successful.
Connect NodeMCU and select Tools > port and select correct port.
3. LED Blinking Program on NodeMCU Board
After following steps given above, now your NodeMCU board can be used like an Arduino board and you can program it using Arduino Software.
This is a very basic program for blinking of an LED.
You can copy and paste program from here.
Compile it and Upload it on NodeMCU Board and observe the output on pin D1.
[sourcecode]
// Program starts here
#define LED_PIN D1
void setup() {
// put your setup code here, to run once:
pinMode( LED_PIN, OUTPUT);
}
void loop() {
// put your main code here, to run repeatedly:
digitalWrite(LED_PIN, HIGH); // Turn on the LED.
delay(1000); // Wait 1 second
digitalWrite(LED_PIN, LOW); // Turn off the LED.
delay(1000);
}
// Program ends here
[/sourcecode]
I will compile a video soon and upload.