My first experience with the ZedBoard SoC board.
I recently registered my Masters and part of my research includes the use of an FPGA for real-time network communications between smart grids. So I am faced with 2 things - learning a new environment as well as a different engineering field which is Power Systems. Coming from an Electronics and Computer engineering background this seemed like an obstacle but worry not. I am the type of person that is always eager to learn new things, so being thrown into the deep end is nothing foreign to me.
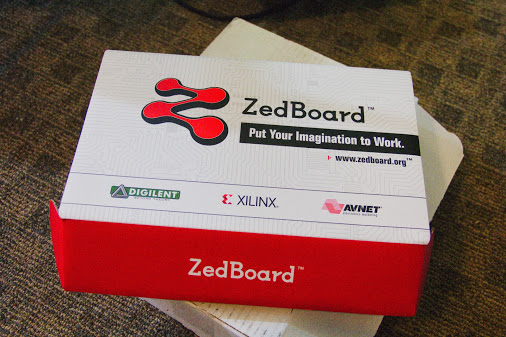
I was handed the board below, Zedboard - and I needed to familiarise myself with it as soon as possible, such that I can hit the ground running.
This blog will detail my experiences and hacks.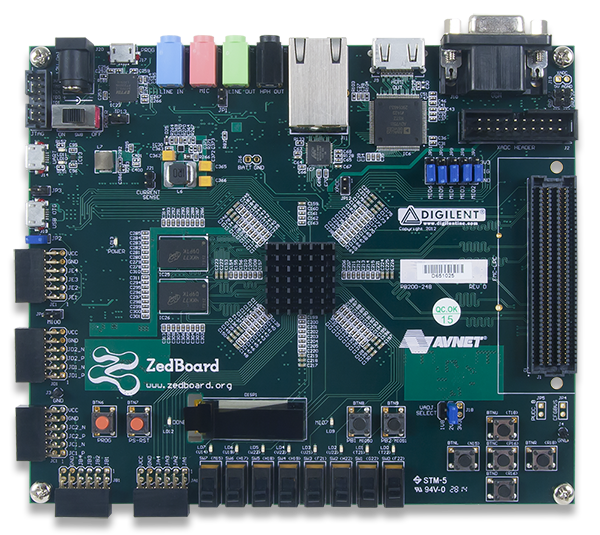
Getting started with the ZedBoard SoC
Firstly, we will need to download Xilinx Vivado suite, in order to do this we need visit the Xilinx Downloads page in order to obtain the installer files.
Select version 2017.2 or later on the left sidebar. I used the "Single File Download" option and chose "Vivado HLx 2017.2: All OS installer Single-File Download". It is a tarball and is 22Gigs, yes there was no typo - 22Gigs file.
Note: You have to be a registered user to download it.
Once the download is completed, untar the tarball, cd into the extracted directory, and execute the GUI installer.
# Confirm the file is valid by checking the md5 hash
# MD5 SUM Value: 958f190a089ad3f39d327d972c7dcf35
$ md5sum Xilinx_Vivado_SDK_2017.2_0616_1.tar.gz
# Once that is confirmed untar and install
$ tar -zxvf Xilinx_Vivado_SDK_2017.2_0616_1.tar.gz
$ cd Xilinx_Vivado_SDK_2017.2_0616_1
$ sudo dpkg --add-architecture i386
$ sudo ./xsetup
Agree to the terms of use and select "Vivado HL WebPACK Edition". Next, tick also Xilinx Software Development Kit (SDK) on the next page, since it’s free and very useful.
Note: by default, Vivado is installed into the /opt/Xilinx/Vivado/2017.2 directory.
At the end of the installation, the license manager will ask for a license. The "Obtain a license" button in the license manager if that does not work, just go to Xilinx Licensing site directly and get a WebPACK license and install it.
Once done with the installation, we need to install the JTAG cable drivers that are needed for many purposes e.g. programming the hardware.
cd /opt/Xilinx/Vivado/2017.2/data/xicom/cable_drivers/lin64/install_script/install_drivers
sudo ./install_drivers
Now, change the ownership of the ~/.Xilinx directory so that you may use Vivado without superuser privilege:
sudo chown -hR $USER:$USER $HOME/.Xilinx/
Every time you want to fire up Vivado, remember to source the "settings" scripts to have the right environment variables:
source /opt/Xilinx/Vivado/2017.2/settings64.sh
source /opt/Xilinx/SDK/2017.2/settings64.sh
Lazy people like myself prefer to uncomplicate the complicated, to avoid executing the above commands each and everytime one needs to start Vivado - do the following.
echo "source /opt/Xilinx/Vivado/2017.2/settings64.sh" >> ~/.bashrc
echo "source /opt/Xilinx/SDK/2017.2/settings64.sh" >> ~/.bashrc
source ~/.bashrc
When done, start-up Vivado from the command line:
vivado or SDK: xsdk
Quoting Raymond Hettinger, While hitting the podium and "There must be a better way!"
Create a new file called vivado.desktop
sudo vim /usr/share/applications/vivado.desktop

# Copy the contents to the file
[Desktop Entry]
Type=Application
Version=1.0
GenericName=Vivado
Name=Vivado
Comment=Vivado
TryExec=/opt/Xilinx/Vivado/2017.2/bin/vivado
Exec=/opt/Xilinx/Vivado/2017.2/bin/vivado
Icon=
Terminal=false
Categories=Education;System
StartupNotify=false
X-GNOME-Autostart-Delay=5
When done, log out-in in order to refresh the systems settings.
Vivado should be available from start-menu and can be copied to the desktop for future executions.