I love reading Medium post time to time, but never have enough time between juggling school, work and family the dream of reading daily posts just happens to fade into the abyss over time. And the links to posts that interest me keep on piling up and up on my Google Keep.
Over time, I could not take it anymore so I decided to create a Python script that would export the blog posts (using a Docker Image) into mp3 files for me to listen to, instead while busy with other boring stuff that boring people do.
In this post, I will walk you through how I managed to publish/deploy my package on PyPi.

At first, I always thought that deploying/packaging your Python package was cumbersome until now. It is now easier than ever and below I will tell you all about it.
Some of the benefits of writing your first Python package and deploying it to PyPi will be:
- Being forced to think much more modularly.
- Writing code with tests in mind.
- Thinking about making the API simple enough for others to intuitively grasp and reuse your work.
- Learning new tools that come along with writing tests.
Before I digress, you might be wondering what is this PyPi I speak of!
What is PyPi?
Well, according to their Website.
The Python Package Index (PyPI) is a repository of software for the Python programming language. PyPI helps you find and install software developed and shared by the Python community. Learn about installing packages. Package authors use PyPI to distribute their software. Learn how to package your Python code for PyPI. If you use
pipcommand, you are already using PyPi.
When you finally get to publish to PyPi, everyone can install and use it with a familiar simple command:
pip install {package_name}
If you are still reading then I’m sure you are like, that is pretty cool.
So, In order to get our package to PyPI we will need to do the following steps:
- Create Python code and make it publish-ready i.e. create a Python package, add the files needed for PyPi.
- Create a PyPi account if you haven’t.
- Generating distribution archives and upload to PyPi.
- Install your own package using
pip
Step #1: Make your code publish-ready.
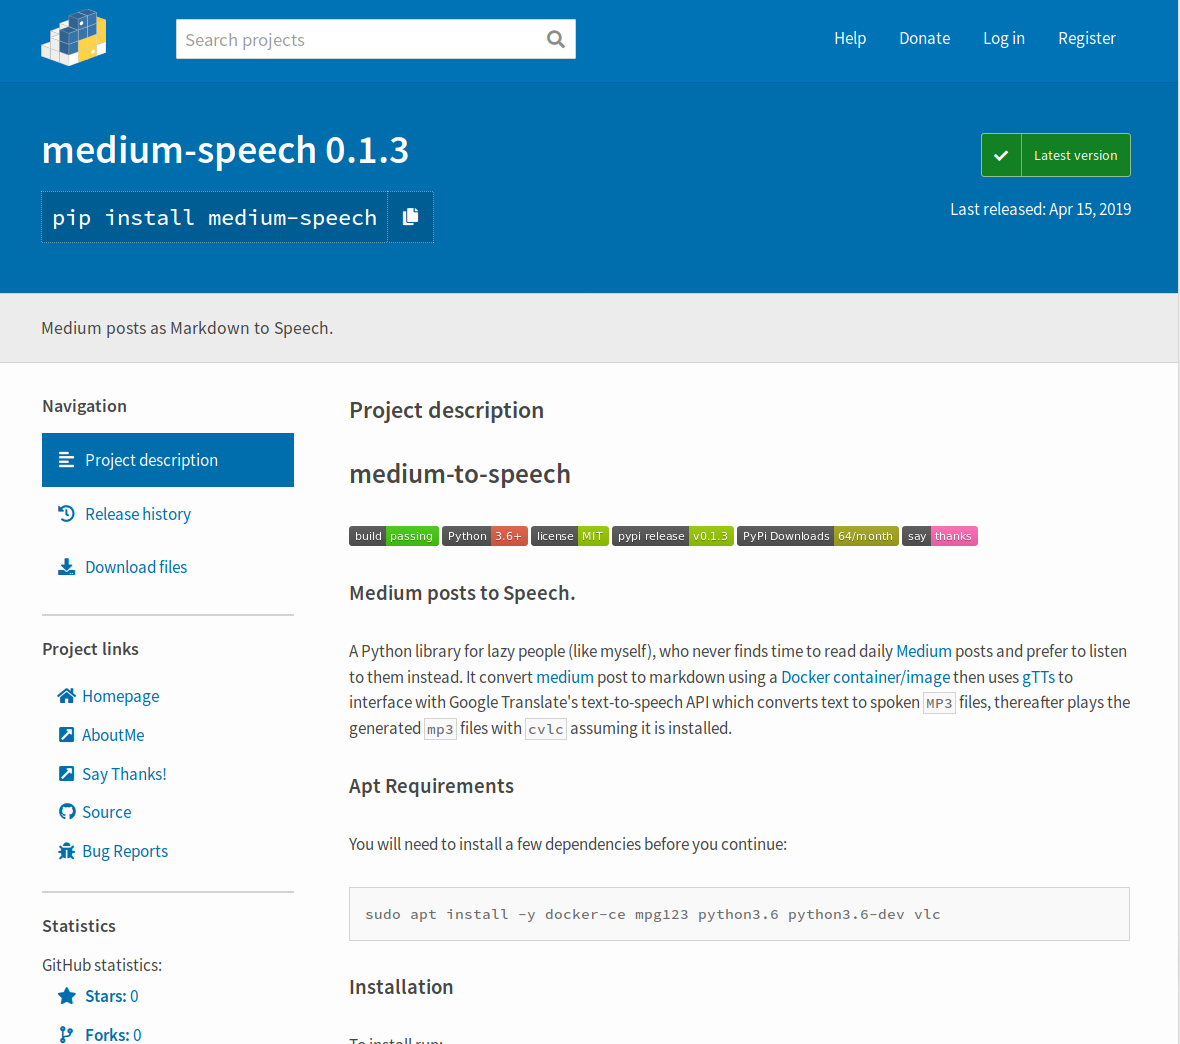
In this post, I will take you through my package called medium-speech as a real example. You can find it here on PyPi, source code is here on Github.
Things to note before deploying:
- Remove all print statement from your code. If you want to inform or log something, use Python
loggingmodule. - Remove all code that stays outside of a class or function. Such code (if really necessary), put it under
__main__function:
if __name__ == "__main__":
    # code outside of a class or function goes here
Create a python package

Reinventing the wheel is a bad idea, don’t do it.
Thanks to @kennethreitz for making it easier with his “Human’s Ultimate Guide to setup.py”.
For us not to reinvent the wheel, let’s fork and/or clone the setup.py repo from GitHub and create a new repository on GitHub called {you-package-name} for simplicity.
git clone https://github.com/kennethreitz/setup.py.git
mv setup.py "{you-package-name}"
rm -rf "{you-package-name}"/.git
git init
git remote add origin git@github.com:"{github-username}"/"{you-package-name}".git
git fetch -a
git checkout master
cd && ls
Package in Python is simply a folder with name of your package. This folder contains files (modules) and other sub-folders (sub-packages).
Rename mypackage directory to “{you-package-name}”, and inside your directory you’ll need to put a file __init__.py (two underscores before and after init) assuming it is not there in order to mark this directory as a Python package. vim or nano inside this __init__.py file you can specify which classes you want the user to access through the package interface.
Sample of my __init.py__ file:
from .MediumToSpeech import MediumToSpeech
Versioning you package is very important, in the same directory you should find __version__.py file, create it if it doesn’t exist. This file tells PyPi which version your package is under.
Sample of my __version__.py file:
VERSION = (0, 1, 3)
__version__ = ".".join(map(str, VERSION))
Add files needed for PyPi
PyPi needs following file in order to work:
-
setup.py(detail will follow.) -
LICENSE(the license file, if you choose MIT, get content from here.) -
MANIFEST.in(optional see reasons here.) -
README.md(Highly recommended, but optional)
Sample project structure:
.
├── LICENSE
├── MANIFEST.in
├── medium_speech
│   ├── __init__.py
│   ├── MediumToSpeech.py
│   └── __version__.py
├── README.md
├── scripts
│   └── play_medium_post.py
├── setup.py
├── tests
│   ├── __init__.py
│   ├── markdown_test.md
│   ├── unit_tests.py
│   └── utils.py
└── tox.ini
└── .travis.yml
└── .gitignore
Let’s dive down and explore the files illustrated above, starting with the setup.py file.
The setup.py file.
The setup.py file contains information about your package that PyPi needs, like its name, a description, installation requirements and etc. We will look directly into a real simple setup.py which you can find here:
Most of the options are self-explanatory, you can just copy the content of setup.py above and modify it to your needs. Don’t forget to list all dependencies of your package in install_requires list, so that this requirement can be installed automatically while your package is being installed.
The scripts directory
Many Python packages include command line tools including this one. This is useful for distributing support tools which are associated with a library, or just taking advantage of the setuptools / PyPI infrastructure to distribute a command line tool that happens to use Python.
For medium-speech, I added a play_medium_post.py command line tool.
There are two mechanisms that setuptools.setup() provides to do this: the scripts keyword argument, and the console_scripts entry point.
In my case I used the scripts keyword argument, go here to read more.
My approach was to write my script in a separate file called play_medium_post.py, under the scripts directory.
Let’s look into the script play_medium_post.py which you can find here
Then we can declare the script in setup.py like this:
SCRIPTS = []
## Assuming you named your scripts directory "scripts"
for dirname, dirnames, filenames in os.walk("scripts"):
    for filename in filenames:
        SCRIPTS.append(os.path.join(dirname, filename))

setup(
    ...
    scripts=SCRIPTS,
    ...
)
When we install the package, setuptools will copy the script to our PATH and make it available for general use, for example:
play_medium_post.py -ps 1 -u https://medium.com/@mmphego/how-i-managed-to-harness-imposter-syndrome-391fdb754820
This has the advantage of being generalizable to non-python scripts, as well: play_medium_post.py could have been a shell script, or something completely different.
Tests, Tests, Tests, Tests, Tests, Tests!!!
Need I say more if you still need convincing read this blog post: Why Use Test Driven Development: 6 Benefits for Your Project. Any piece of code that you write, you should be writing with tests in mind so that you can better break apart larger functions into base components to hopefully get more reuse out of them.
In my case, I wrote my package code first. However, you can also write your tests first, knowing your function can’t fulfill them and only then fill in the code until the test passes. There is a lot of great material out there for Test Driven Development (TDD) if you want to explore the philosophy behind it more. This is something that is a major level up in best practice coding that once you force yourself to do, everything else will be so much easier.
For my package, I used unittest framework together with nose you are welcome to use any framework/module - I just prefer nose.
Within our tests directory, we will need an empty __init__.py file as with our package. Next, you write some tests!. If you would like to check out and contribute to my tests go here.
The tox.ini file
Now that we have our code and our tests, let’s expand the functionality of our testing basis a little by introducing tox.
What is Tox?
From their website
toxaims to automate and standardize testing in Python. It is part of a larger vision of easing the packaging, testing and release process of Python software.
Tox allows us to run through tests in multiple environments so that you can be sure your code will work with the differences between Python versions. Let’s look directly into a simple tox.ini file which you can find here:
The code above simply tells us we are going to test the package using python3.6 and python3.7, as well as a flake8 environment layer for checking any pep8 violations.
So when we run tox in our shell, it will create virtualenv for the individual envlist and install all dependencies listed under deps when done it will execute any commands listed under commands in our case I am running python setup.py test. To read more about setuptools testing go here.
The .travis.yml file
So at this point, we have our package logic, our tests, multiple environments tests using tox. Now, what happens if others start contributing to our repo and someone edits code, but forgets to run tox or nosetests locally before pushing to our repo?
Bugs could be introduced and people who depend on your code now have things that break. This is where Continuous Integration (CI) comes in. For this, I used Travis CI.
What is Travis CI?
From stackoverflow:
The simplest way to explain Travis CI is that it runs your program’s tests every time you commit to GitHub (this can be configured in many ways, and you can always disable builds on some branches). The point of this is that you can often discover very quickly if your commit broke something, and fix it before it becomes a problem. You can read more about Travis CI here.
To set up Travis, for the first time I would highly recommend the tutorial here which is very detailed and well written.
After you have registered you need to connect your repo, and we are good to go!
The README.md file
A README is a reflection of how a repository is maintained. A good one doesn’t necessarily mean an active, bug-free project with perfect tests. But it suggests that the owner cares about you, the user (or future maintainer). A good README tells you everything you need to know to use the project and get involved. It sells the project — but concurrently respects a visitor’s time by letting them know if they need a different solution.
Before you push your project to GitHub, I would recommend you to read up about Readme Driven Development (RDD) and why we need a README file.
I personally prefer to use stackedit which is an online real-time Markdown (md) editor which beautifully renders your markdown texts, you are welcome to use any tool you need.
Below is a detailed template which I followed when creating my README.md and you can find here:
README: -Badges
Mostly standardized by badges/shields, GitHub badges are one of the first things a visitor sees as they scroll down. Build status badges describe the stability of a project. In my case, I have Python version badge which state which version of Python is supported, Licence badge, PyPi version release badge, Number of package downloads from PyPi, and Thank You badge. Badges aren’t compulsory but much like GIFs/Memes, they are a huge bonus.
shields.io have an API for creating your own badges, If you would like to create your own SVG badges locally there’s a Python package owned by Google called pybadges.
Read more about badges and README files here
Step #2: Create a PyPi account.
Now that you package is ready for deployment we will need to register on PyPi account. If you do not have a PyPi account, go here and register.
Step #3: Generate dist archives and upload to PyPi.
Now, the for the finale.
First, open your cli and navigate into your the folder where you have all your files and your package located.
You will need to install twine which will upload our package to PyPi.
pip install -U twine
Then, run the following command:
If you want to dive down as to how it all works go here.
python setup.py upload

# To see more options, hit:
# python setup.py --help-commands
You will be asked to provide your username and password. Provide the credentials you used to register to PyPi earlier.
After successful uploading, go to PyPi website, under your project, you can found your published package.
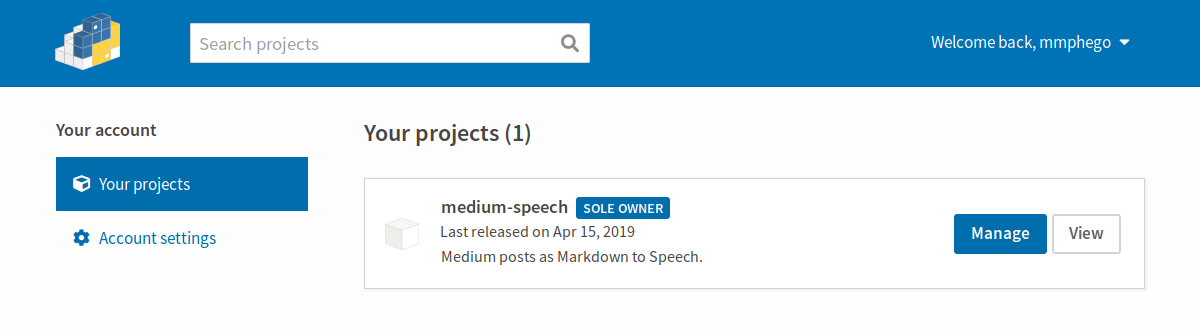
My public listing is here
Step #4: Install your own package using pip
Okay, now let’s test this out. Open your cli and type the following command:
pip install "yourpackagename"
In my case it is:
pip install -U medium-speech
When it is finished installing, Open the python/ipython shell and import your package.
Step #5 (optional): Changes to your package
If you maintain your package well, you will need to change the source code from time to time.
Simply make the changes and Do not forget to change the version number under {mypackage}/__version__.py, commit and push your changes to GitHub.
Then run Step 3 to upload the new release to PyPi.
Finally, update your package via pip to see whether your changes worked:
pip install -U "yourpackagename"
That’s it. Enjoy building and sharing your Python packages!
Sorry for the long post, here’s a Potato!

If you found this post interesting, please leave a comment or an emoji.