
The Story
The official Ubuntu 20.04 (Focal Fossa) was recently released and I was eager to upgrade from 18.04 to 20.04. This version will be supported for the next 5 years but I doubt I will be using it till then. The desktop edition comes with GNOME 3.36 and a new default theme called Yaru (Dark themes whoop whoop!).
But amongst all of them I have been looking forward to the night light colour temperature dial (which reduces eye strain) and support for Biometrics on the Dell XPS 15. However, upgrading instead of a fresh install came with a issues and in this blog post I will detail how I managed to upgrade to 20.04 and some troubleshooting advice.
NOTE: Before you continue with the upgrade make sure you have backed up your data.
TL;DR
In order to upgrade from 18.04 to 20.04 run the chained command, fingers crossed:
sudo apt-get update --fix-missing && \
sudo apt upgrade && \
sudo apt -y full-upgrade && \
sudo apt install -y update-manager-core && \
sudo apt autoremove && \
sudo apt autoclean && \
sudo do-release-upgrade -d && \
sudo systemctl reboot
If something breaks or fails, head to the Troubleshooting section.
Walkthrough
Ensure that you have the latest version of packages before you continue with the upgrade, run:
sudo apt-get update && \
sudo apt-get -y upgrade && \
sudo apt-get -y full-upgrade && \
sudo apt autoclean && \
sudo apt autoremove
The command above consists of 5 chained commands separated by ‘&&’. The apt-get update only updates the list of available packages and their versions, apt upgrade installs newer versions of the packages from the updated list, apt-get dist-upgrade it will attempt to upgrade the most important packages at the expense of less important ones if necessary. apt autoclean and apt autoremove are just for cleanup.
Once the update is done, reboot your system by running the command:
sudo reboot
To install the latest version of Ubuntu 20.04, run the command:
sudo do-release-upgrade -d
Note: ‘-d’ flag denotes upgrade to the development release, If using the latest supported release.
During upgrade procedure, it will prompt you couple of times to type “Y” to update package repositories and sometime “enter” to confirm to proceed with upgrade.
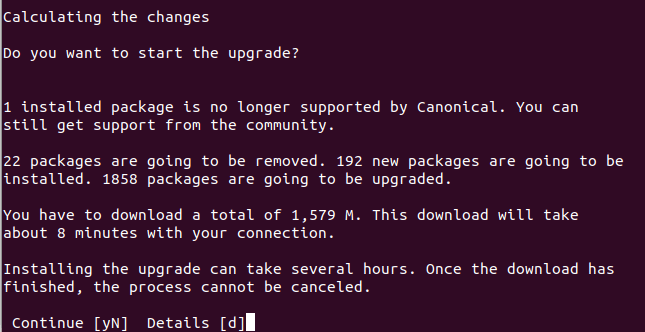
Once the download of packages is finished, it will start upgrading and then removing old packages. This process will take time and ultimately prompt you to restart your system.
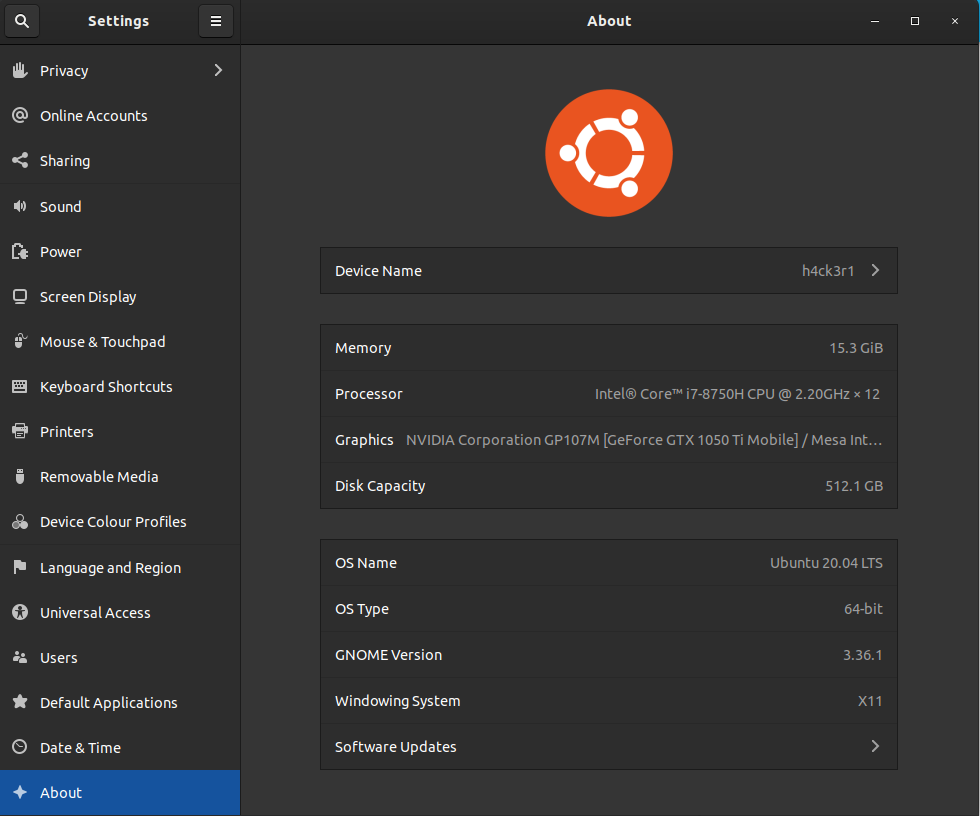
We have now successfully upgraded to Ubuntu 20.04.
You can verify if the upgrade was successful by checking the Ubuntu version from the “About” section under “System Settings”.
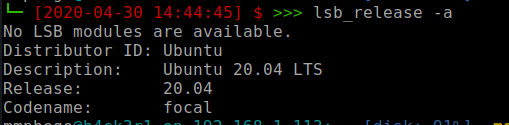
You can also check the version from command line by running the following command:
lsb_release -a
Troubleshooting
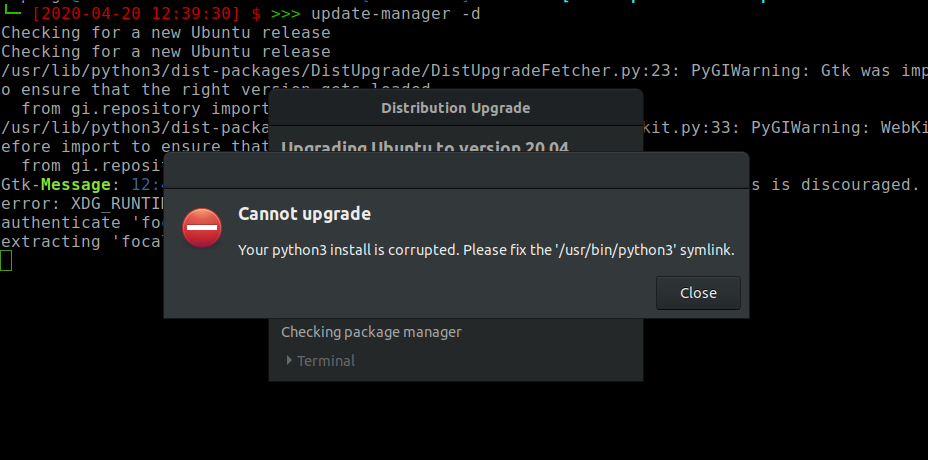
‘Python3 install is corrupted’: Fix
After multiple failed attempts to upgrade my OS, I was finally able to fix the dreaded python3 install is corrupted error.
The fix:
sudo update-alternatives --remove-all python
sudo update-alternatives --remove-all python3
sudo ln -sf /usr/bin/python3.6 /usr/bin/python3
‘There is no development version of an LTS available’: Fix
I tried multiple time to upgrade using do-release-upgrade command but for some reason it was telling me that ‘There is no development version of an LTS available’.
sudo do-release-upgrade -d

Checking for a new Ubuntu release
There is no development version of an LTS available.
To upgrade to the latest non-LTS development release
set Prompt=normal in /etc/update-manager/release-upgrades.
The fix:
sudo nano /etc/update-manager/release-upgrades
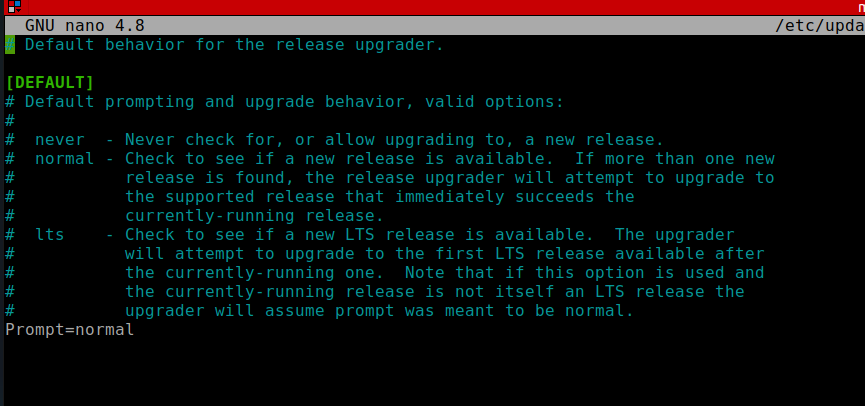
This will enable you to upgrade to Ubuntu 19.10 instead of 20.04, once you have upgraded to 19.10 then upgrade to 20.04.
Run: sudo nano /etc/update-manager/release-upgrades and change Prompt=lts and then follow TL;DR instructions.
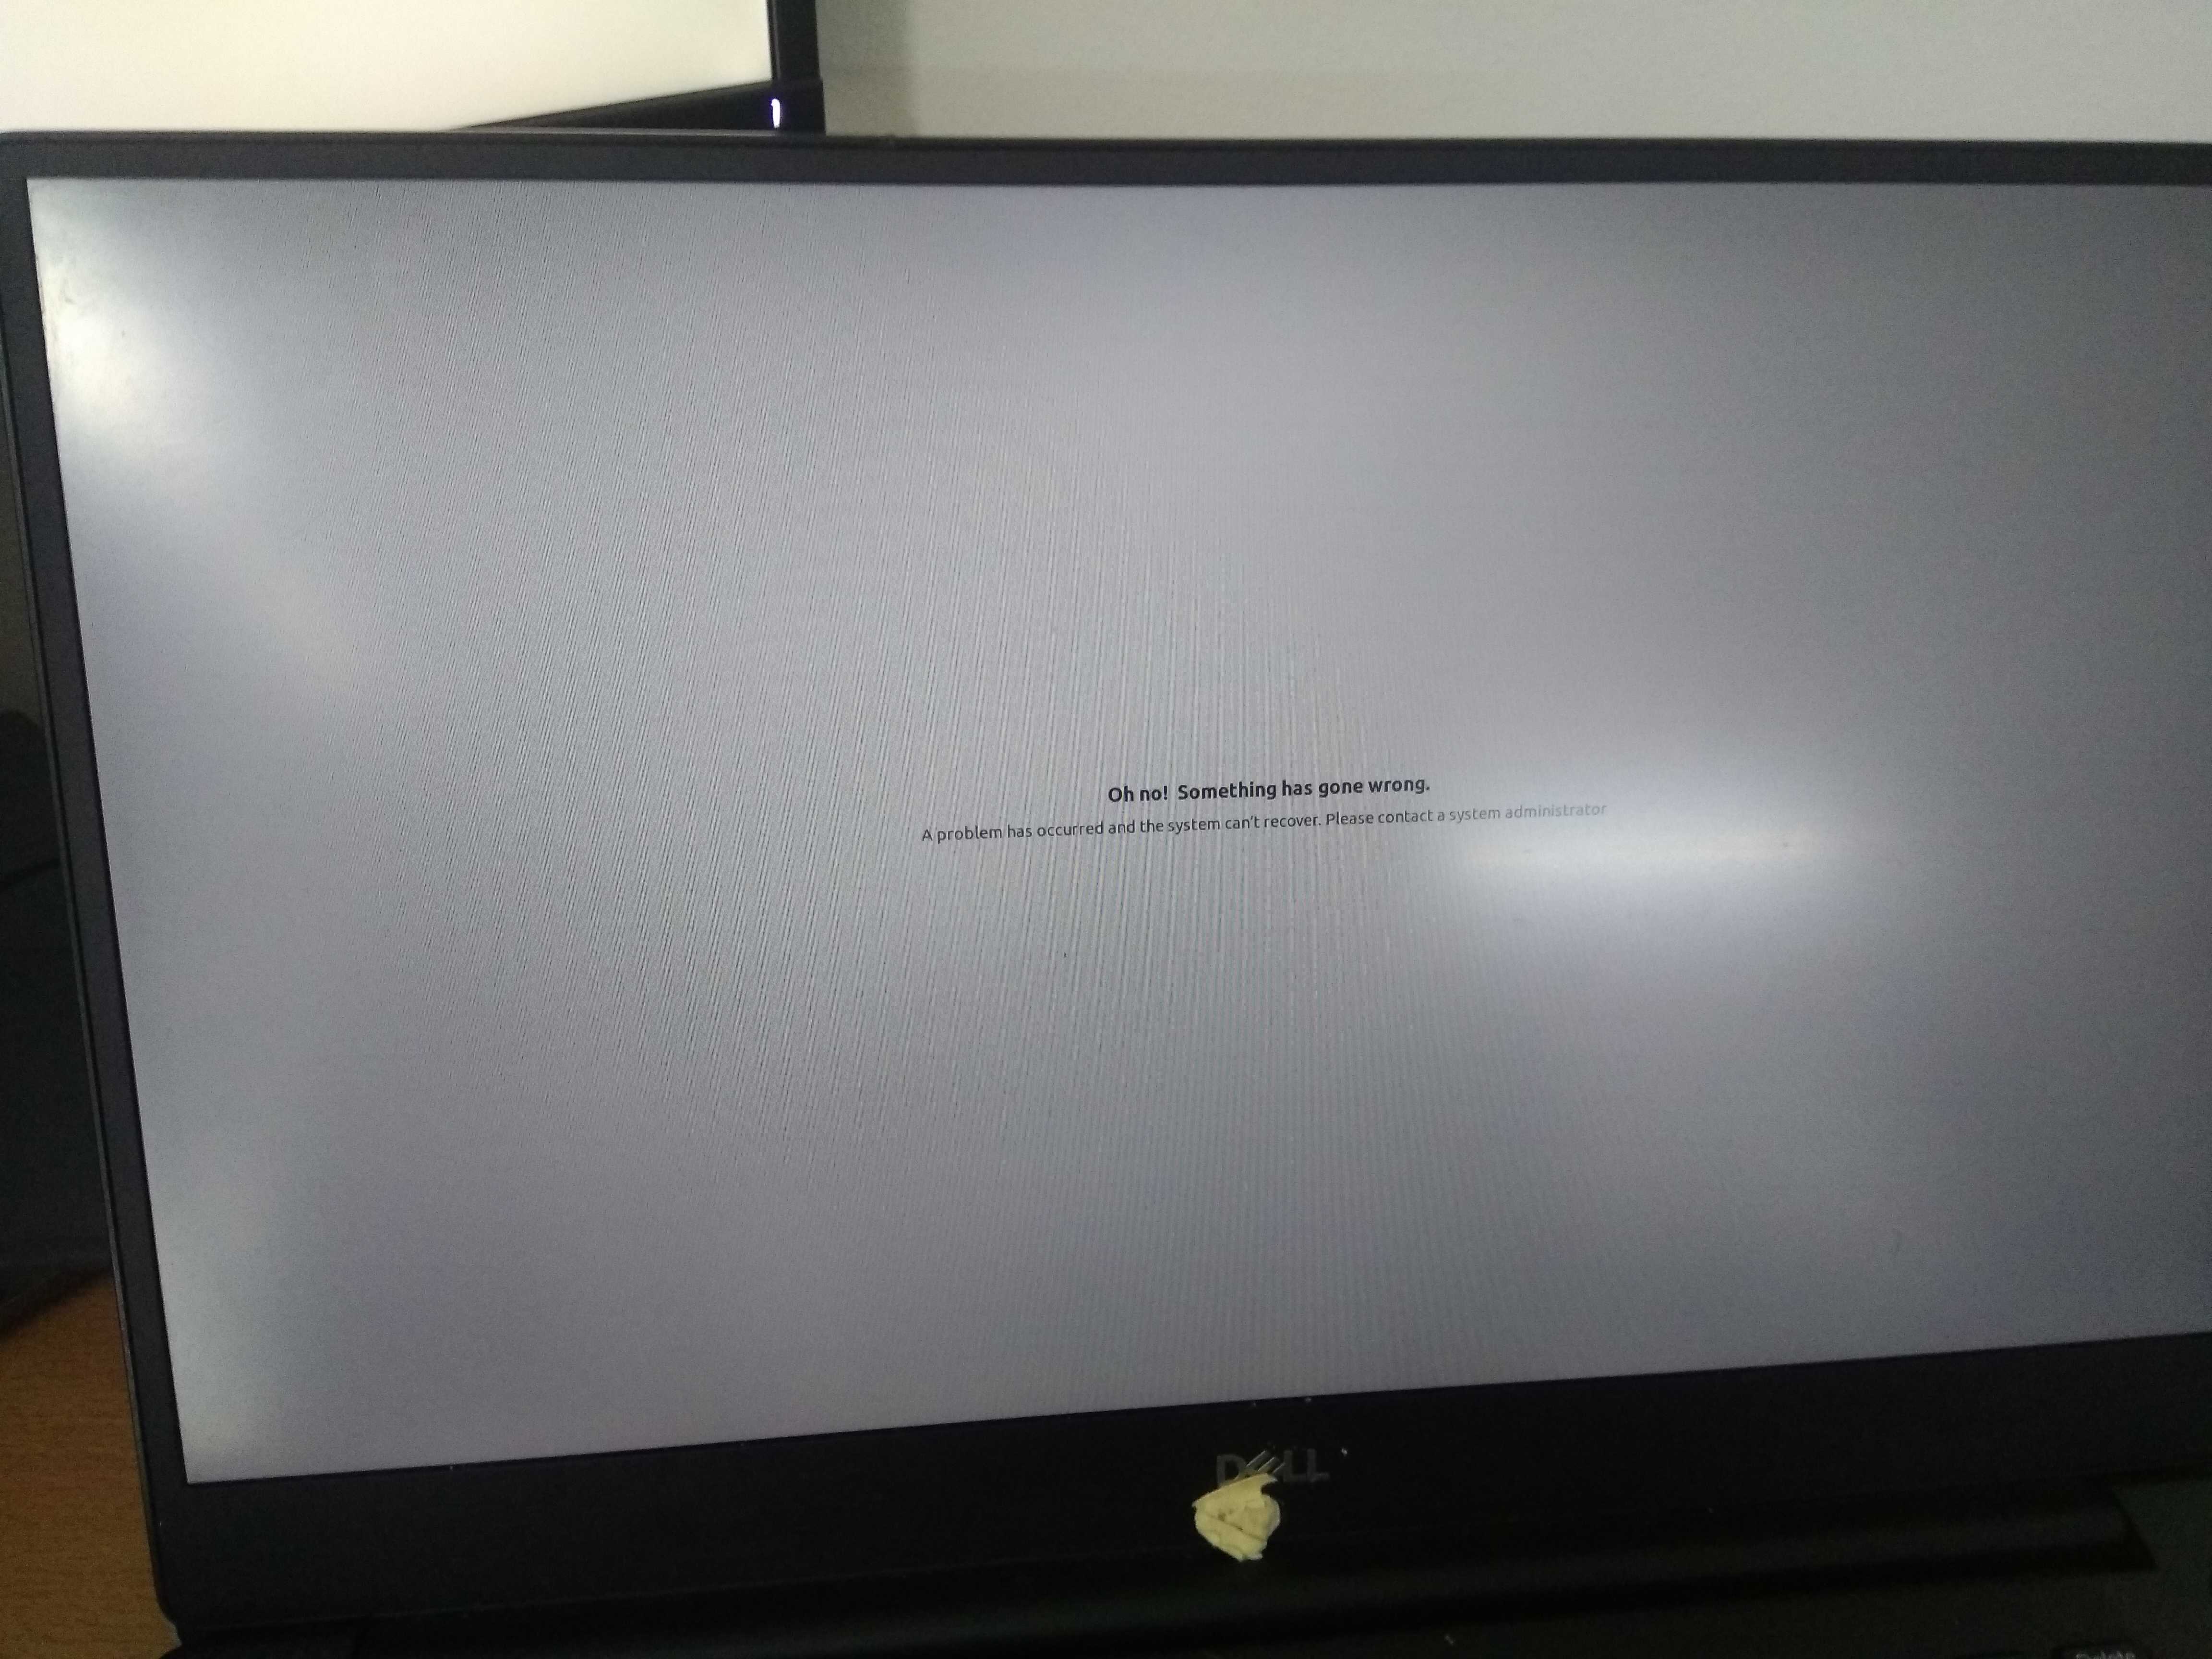
Oh No! Something has gone wrong: Fix
Just in case if your Ubuntu system crashes due to power failure or network connectivity issue in the middle of the Upgrade process or gnome fails to start, you might end up with broken Ubuntu. That’s exactly what happened in my case, when I was confronted with the screen below.
To fix, reboot while repeatedly pressing either the Shift or Esc key. On newer computers it’s probably Esc. FYI the timing has to be near perfect on some computers, so you may have to press it repeatedly.
You will be met with the Grub menu, select Advanced Options then GRUB will take you to a Recovery Menu as shown below.
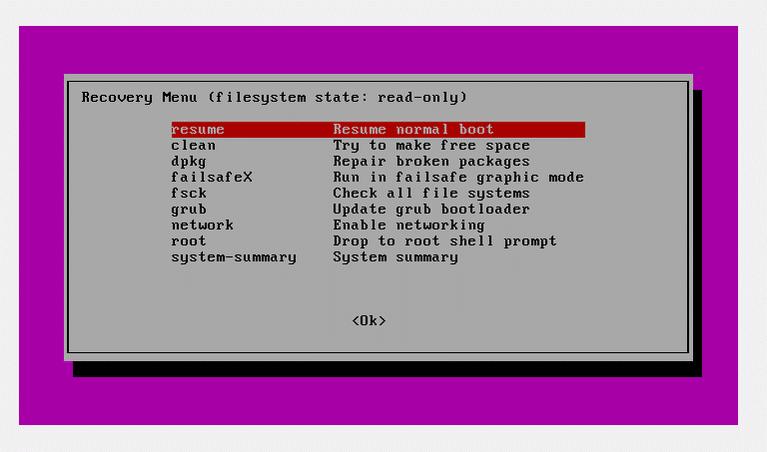
Note: Select Network in the Recovery Mode list to get online before attempting to fix the upgrade, as most features requires internet connectivity.
Then select the Dpkg option which allows fixes and uninstall any potentially broken packages that are causing problems on your system.
Reboot system after Dpkg has finished installing the packages.
Broken virtualenv due to missing Python3.6: Fix
Since Ubuntu 20.04 comes with Python3.8 by default and not Python3.6, this meant that my virtual environments where messed up. So all I needed was to install Python3.6 to support my legacy virtualenvs
sudo add-apt-repository ppa:deadsnakes/ppa
sudo apt-get update
sudo apt-get install python3.6-dev